


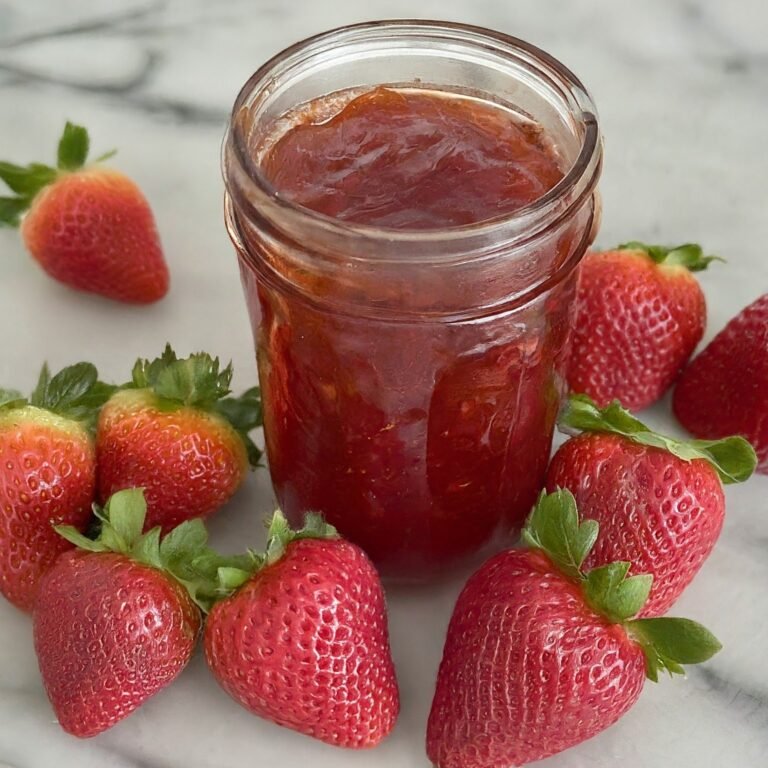
Summer in a Jar
Ah, strawberries! Those ruby red jewels of summer, bursting with sweetness and a touch of tartness. What better way to celebrate these beauties than by transforming them into a jar of homemade jam? Not only is it incredibly delicious, but it’s also surprisingly easy to make.
This recipe is designed to be approachable for even the most novice kitchen adventurer. With a handful of ingredients and some simple steps, you’ll be well on your way to crafting a homemade jam that will blow your store-bought varieties out of the water.
The Rundown
Here’s what you’ll need to gather:
- 4 cups fresh strawberries, hulled and sliced
- 3 cups granulated sugar
- 1 tablespoon lemon juice
- A large saucepan
- A potato masher (optional)
- Canning jars with lids and rings (sanitized)
Let’s Get Jammin’!
- Prep Those Berries: Wash and hull your strawberries. Slicing them is totally up to you; for a chunky jam, leave them a bit bigger. If you prefer a smoother consistency, give them a finer chop.
- Sugar Rush: In your large saucepan, combine the sliced strawberries and sugar. Let this mixture sit for about 15 minutes, allowing the strawberries to release their natural juices.
- Heat It Up: Turn your stovetop to medium heat and bring the strawberry-sugar mixture to a boil. Keep a watchful eye and stir frequently to prevent scorching.
- The Science of Jam: Once boiling, the magic happens! The sugar dissolves, thickening the mixture as it cooks. This is where patience comes in. You’ll want to continue boiling the jam for 10-15 minutes, or until it reaches a gel-like consistency.
Here’s a handy trick to check for doneness: Place a small spoonful of jam on a chilled plate and stick it in the freezer for a minute or two. If the jam wrinkles when you push it with your finger, it’s ready! If it remains runny, keep cooking.
- Lemon Love: Once your jam has reached the desired consistency, remove it from the heat and stir in the lemon juice. This adds a touch of brightness and helps to preserve the jam.
- Jarring the Goodness: Carefully ladle the hot jam into your sterilized jars, leaving about ¼ inch of headspace at the top. Wipe the rims clean with a damp cloth, then secure the lids and rings tightly.
- The Waiting Game: Now comes the not-so-fun part: waiting! Process your filled jars in a boiling water bath canner according to your specific altitude for proper sealing. Once processed, allow the jars to cool completely at room temperature.
Voila! You’ve just created a jar of sunshine – a taste of summer captured in every spoonful.
Tips and Tricks:
- For a more intense strawberry flavor, consider adding a teaspoon of vanilla extract or a splash of Grand Marnier to the finished jam.
- This recipe can be easily adapted to other fruits as well. Think peaches, blueberries, or even raspberries!
- Homemade jam is the perfect accompaniment to toast, scones, or even a dollop on top of ice cream.
- And most importantly, enjoy the satisfaction of creating something delicious from scratch!
Troubleshooting and Storing Your Homemade Jam
Making jam is a rewarding experience, but sometimes things don’t go exactly according to plan. Here are some troubleshooting tips to ensure your homemade strawberry jam turns out perfectly:
- Runny Jam: Did your jam fail to reach the desired gel-like consistency? This could be due to a few factors. One possibility is that you didn’t cook it long enough. Make sure the mixture reaches 220°F (105°C) and achieves a wrinkle test on a chilled plate. Another culprit could be using underripe strawberries, which lack the natural pectin needed for thickening.
- Sugar Crystals: If you find sugar crystals lurking in your jam, don’t despair! This can happen if the sugar wasn’t fully dissolved during the initial stages. To remedy this, simply reheat the jam over low heat, stirring constantly, until the crystals disappear.
- Sealing Issues: Did your jars fail to seal properly? This can be a safety concern. Double-check that you followed proper sterilization procedures for your jars, lids, and rings. Ensure you tightened the lids snugly but not excessively. If you’re unsure about a seal, it’s best to discard the jar for safety reasons.
Storing Your Jam Masterpiece:
Properly stored, your homemade jam can be enjoyed for weeks, or even months! Here’s how to ensure its longevity:
- Cool It Down: Once your jars have cooled completely at room temperature, transfer them to a cool, dark pantry for storage.
- Refrigerate After Opening: After opening a jar, be sure to store it in the refrigerator. The cold temperature will help slow down spoilage caused by bacteria. Homemade jam typically lasts for up to 2 weeks in the fridge.
Sharing the Sweetness:
Homemade jam makes a delightful and thoughtful gift. Package a jar (or two!) with a pretty ribbon and share the taste of summer with friends and family. They’re sure to be impressed by your culinary creation!
So, what are you waiting for? Grab your fresh strawberries and get ready to create a taste of summer magic in your own kitchen!