


Capture the Essence of Summer
Ah, beach plums. Those tart little purple gems that cling to the thorny bushes along the coast. They might not be the prettiest fruit, but for those lucky enough to find them, they hold the promise of a delicious summer treat: beach plum jelly!
Making your own jelly might seem intimidating, but fear not! This recipe breaks it down into simple steps, allowing you to transform those tart beach plums into a jarred treasure.
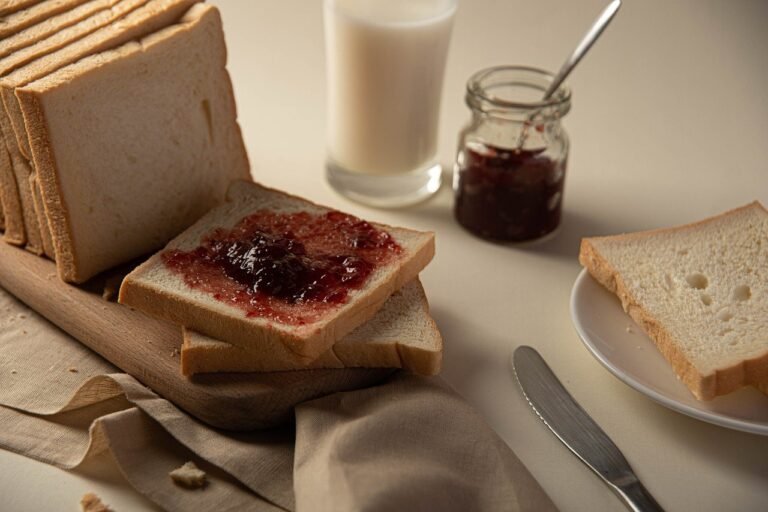
This recipe is perfect for anyone who wants to capture the essence of summer in a jar. It’s a fun and rewarding project, and the finished product is a delightful addition to toast, scones, or even a cheeseboard.
Gather Your Beach Plum Bounty:
- Fresh beach plums (the star of the show!) – Aim for enough to yield about 4 cups of juice.
- Sugar (sweetness to balance the tartness)
- Water (to help extract the juice)
- Lemon juice (for a touch of acidity and better gelling)
- Pectin (optional, for a firmer set)
- Canning jars with lids and rings (to safely preserve your jelly)
Pro Tip: Don’t have access to beach plums? You can substitute tart plums or even cranberries for a similar flavor profile.
From Beach to Beautiful Jelly: Step-by-Step
- Prep Your Plums: Wash your beach plums thoroughly, discarding any stems or blemishes.
- Juice Up!: In a large pot, combine the beach plums and enough water to just cover them. Bring to a boil, then reduce heat and simmer for 20-25 minutes, or until the plums are softened and releasing their juices.
- Straining for Perfection: Pour the plum mixture into a jelly bag or cheesecloth-lined colander suspended over a large bowl. Let it drain for several hours, or overnight, to extract as much juice as possible. You should end up with about 4 cups of pure juice.
- Sugar Rush! In a clean pot, combine the beach plum juice, sugar, and lemon juice. Bring to a rolling boil, stirring constantly to dissolve the sugar.
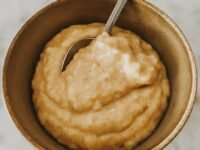
- The Gelling Point: This is where the magic happens! To test if your jelly is ready, place a small spoonful on a chilled plate. Let it sit for a minute, then push it with your finger. If it wrinkles, it’s set! If it remains runny, continue to boil for a few more minutes and retest. Optional: If you prefer a firmer set, you can add pectin according to the package instructions at this stage.
- Canning Time! While your jelly boils, sterilize your canning jars, lids, and rings according to safe canning practices.
- Fill ‘Er Up: Carefully ladle the hot jelly into your sterilized jars, leaving about ¼ inch of headspace at the top. Wipe the rims clean and secure the lids and rings.
- Processing Power: Process the filled jars in a boiling water bath canner for the recommended time based on your altitude (consult a canning guide for specific times).
- Cool Down: Once processed, remove the jars from the canner and let them cool completely on a wire rack. The lids should pop as they seal, creating a satisfying click.
Congratulations! You’ve just created a jar of homemade beach plum jelly. Store your sealed jars in a cool, dark place for up to a year.
Beyond the Basics: Tips and Tricks
- Flavor Fusion: For a twist on the classic recipe, add a few sprigs of fresh mint or a vanilla bean pod while simmering the plums for an extra flavor dimension.
- Spice It Up!: Feeling adventurous? A pinch of ground ginger or cinnamon can add a touch of warmth to your beach plum jelly.
- No Pectin? No Problem! While pectin can help achieve a firmer set, it’s not essential. The natural acidity of the beach plums and the long cooking time will allow the jelly to gel naturally. Just be aware that the set might be softer.
So there you have it! With a little effort and this easy-to-follow recipe, you can transform those beach plums into a delicious and delightful homemade jelly. Enjoy a taste of summer all year long, and impress your friends and family with your newfound canning skills!
Beach Plum Jelly Troubleshooting: From Gloopy to Glorious
Even the most experienced home chefs can encounter a few bumps along the road. Here’s how to troubleshoot some common beach plum jelly mishaps:
- My Jelly Won’t Set! Fear not! There are a few reasons why your jelly might not be reaching that perfect gel stage. Did you boil it long enough to reach the proper temperature (usually around 220°F or 104°C)? Did you use enough sugar? The proper sugar-to-pectin ratio (if using pectin) or sugar-to-acidity ratio (without pectin) is crucial for gelling.
- My Jelly is Too Runny. If your jelly seems a bit loose after cooling, don’t despair! You can try to re-cook it with a little more sugar and lemon juice. Just remember to follow safe canning practices and re-process the jars again.
- My Jelly is Too Thick. A little too much of a good thing? If your jelly is a bit too thick, you can try thinning it out with a tablespoon or two of hot water before pouring it into the jars.
Beyond the Jar: Creative Uses for Beach Plum Jelly
Beach plum jelly isn’t just for toast! Here are some creative ways to enjoy your homemade treasure:
- Glaze it Up: Brush beach plum jelly on grilled chicken or pork for a sweet and tangy glaze.
- Cocktail Creations: Add a spoonful of beach plum jelly to your favorite sparkling wine or vodka for a unique and refreshing summer cocktail.
- Cheese Course Companion: Beach plum jelly pairs beautifully with sharp cheeses like cheddar or goat cheese.
- Dessert Delight: Swirl beach plum jelly into homemade yogurt or ice cream for a burst of summer flavor.
So, the next time you find yourself with a basket of beach plums, don’t just snack on them raw! Use this recipe to transform them into a delicious and versatile homemade jelly. With a little practice and these helpful tips, you’ll be a beach plum jelly pro in no time!