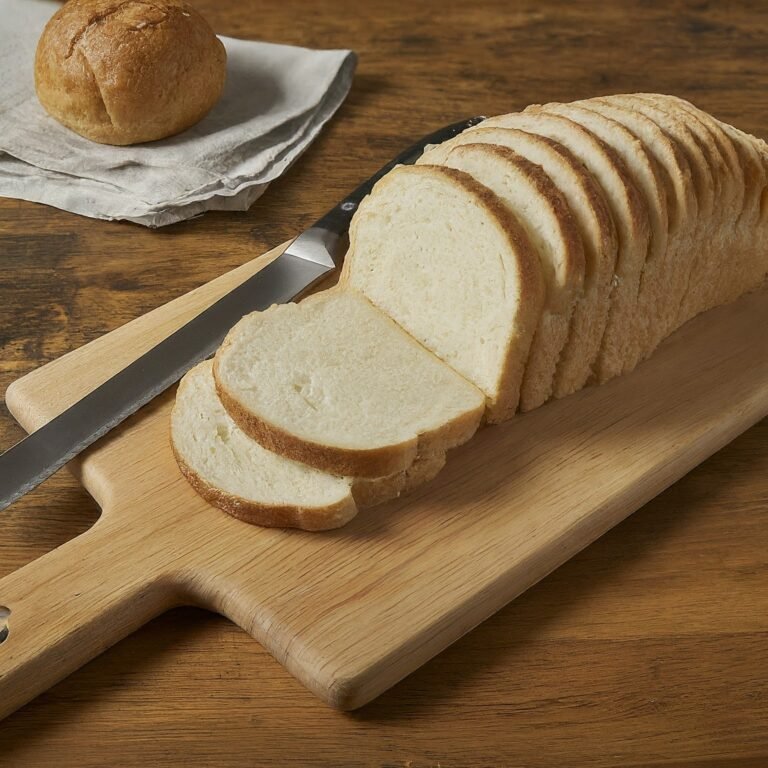
Hey there, bakers! Today, we’re ditching the store-bought bread and whipping up a delicious loaf of goodness at home, with a healthy twist – it’s low-sodium!
Now, you might think low-sodium bread means sacrificing flavor. But fret not, because this recipe is here to prove you wrong. We’ll create a flavorful loaf that’s kind to your heart and your taste buds.
Ready to ditch the excess sodium and bake some magic? Let’s get started!
Gather Your Ingredients:
- 2 ¼ cups warm water (around 110°F)
- 1 tablespoon active dry yeast
- ¼ cup granulated sugar
- 3 tablespoons unsalted butter (melted)
- ¼ cup nonfat dry milk powder
- ⅓ cup wheat gluten
- 3.5 – 5 cups all-purpose flour
Baking Buddy Steps:
- Wake Up the Yeast: In a large bowl, combine the warm water, yeast, and sugar. Give it a good stir and let it sit for 5-10 minutes. You’ll see the mixture get foamy – that’s the yeast activating and getting ready to make our bread rise!
- Whisk in the Flavor: If your yeast is bubbly and happy, then it’s time to add some more goodies. Whisk in the melted butter, dry milk powder, and wheat gluten.
- Go Forth and Flour: Now comes the flour party! Start by adding about ½ cup of flour and whisking it in. Keep adding flour, ½ cup at a time, until you have a wet dough that comes together nicely. You might need a total of 2 ½ – 3 cups of flour, but it can depend on the brand you use.
- Knead to Know: Here comes the fun (and slightly physical) part – kneading! Turn the dough out onto a lightly floured surface and knead for about 10 minutes. The dough should become smooth and elastic – think of it like giving your bread a little massage!
- Rise and Shine: Pop your kneaded dough into a greased bowl, turning it once to coat it with the grease. Cover the bowl with plastic wrap or a clean kitchen towel and find a warm spot for it to rise. Let it sit for about 45 to 50 minutes, or until it doubles in size.
- Shaping Up: The dough has doubled! Gently punch down the air and transfer it to a lightly floured surface. Now, you can shape your loaf however you like – a classic oblong loaf, a round boule, or even get creative with braids!
- Second Rise: Place your shaped dough in a greased loaf pan and cover it loosely again. Let it rise for another 30 minutes or until it looks nice and puffy.
- Bake it Happen! Preheat your oven to 375°F (190°C). Once the oven is hot and your dough is ready, bake the bread for 30-35 minutes, or until the top is golden brown.
- Cooling Down: Take the bread out of the oven and resist the urge to dig in right away! Let it cool on a wire rack for at least 30 minutes before slicing. This allows the bread to finish setting and ensures a perfect texture.
- Enjoy!: Now comes the best part – savoring your homemade low-sodium bread! Toast it, slather it with butter, or make a yummy sandwich. You deserve a pat on the back, baker – you made healthy and delicious bread!
Bonus Tips:
- For a touch of extra flavor, you can add 1 tablespoon of honey or olive oil to the dough along with the wet ingredients.
- Don’t have wheat gluten? No worries! You can substitute it with an extra ½ cup of all-purpose flour.
- If you don’t have a stand mixer, no problem! This recipe works perfectly with good old-fashioned hand kneading.
Absolutely! We can delve a little deeper into the world of low-sodium bread baking:
Why Choose Low-Sodium Bread?
Many of us love a good slice of bread, but store-bought loaves can be loaded with sodium. This can be a concern for people with high blood pressure or those aiming for a more heart-healthy diet. Making your own low-sodium bread gives you complete control over the ingredients, allowing you to enjoy the taste of bread without the excess sodium.
Low-Sodium Substitutes:
This recipe uses a few key ingredients to keep the sodium content low:
- Unsalted Butter: This swaps out the sodium-packed regular butter for a heart-friendly option.
- Nonfat Dry Milk Powder: While regular milk powder contains sodium, the nonfat version allows you to add creaminess without the added salt.
- Focus on Flavorful Add-Ins: Fresh herbs like rosemary or thyme can add a wonderful depth of flavor to your low-sodium bread. Sun-dried tomatoes or chopped nuts can also add a delightful savory touch.
Troubleshooting Tips:
- My dough is too sticky: Don’t be afraid to add a bit more flour, but do it gradually! Adding too much flour can make your bread tough, so start with a tablespoon at a time until the dough reaches a manageable consistency.
- My dough isn’t rising: Double-check that your yeast is fresh and active. If the foamy reaction isn’t happening after 5-10 minutes, your yeast might be inactive. Make sure the water temperature is lukewarm (around 110°F) – too hot and it can kill the yeast.
- My bread is burnt on the outside but raw on the inside: This could be due to your oven temperature being a bit too high. Try lowering the heat by 25°F (12°C) and extending the baking time slightly.
Storing Your Low-Sodium Bread:
Once your bread has cooled completely, store it in an airtight container at room temperature for up to 3 days. For longer storage, you can slice the bread and freeze it for up to 3 months.
Final Thoughts:
Baking your own low-sodium bread is a fun and rewarding experience. You get to control the ingredients, customize the flavors, and end up with a delicious and healthy loaf that’s perfect for any occasion. So, grab your ingredients, preheat your oven, and get ready to create some magic in the kitchen!


